I thought i'd give a little more detail about uv mapping because i found it all a mystery in the beginning.
For the squirrel i used fragmotion to remap the uv's but here i will show it in uvmapper classic (freeware)
http://www.uvmapper.com/downloads.html (if your model has a huge number of triangles reduce it in meshlab first)
Simon has done a lot of work on the beta uv mapping which makes it pretty straight forward.
load the model from curvy into uvmapper clasic press edit menu - select all
then press the / key on the numeric keypad(this will reduce the map to a workable size) then drag the map to where you want it and use the corner handles to resize.
to load the reference texture cntrl+b
when you have got it right export the model ticking the box invert uv vertical.
you may need to flip the texture as well.
any problems just ask me.
if when you first load your model into uvmapper it is blank or the image you see does not make sense go to edit-new uvmap -planar.
As always - it is wise to rename models and textures as you are saving them so that you do not overwrite anything important.
Sometimes people want to export the map from uvmapper so that hey can paint on it in photoshop etc, if you do, do not forget to convert it to 24bit rgb or things will behave oddly.

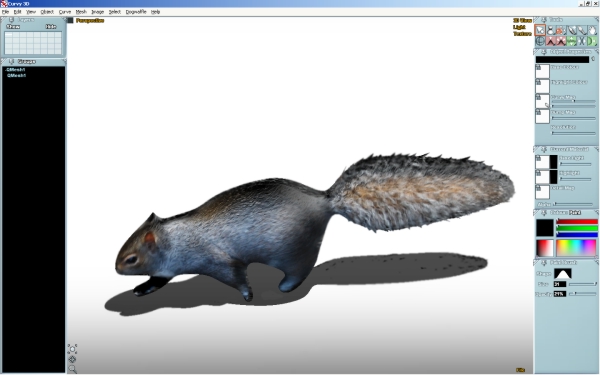
screenshot of uv being lined up in uvmapper classic