Page 1 of 1
how to merge lofts
Posted: Fri Apr 23, 2010 12:43 am
by sculptor
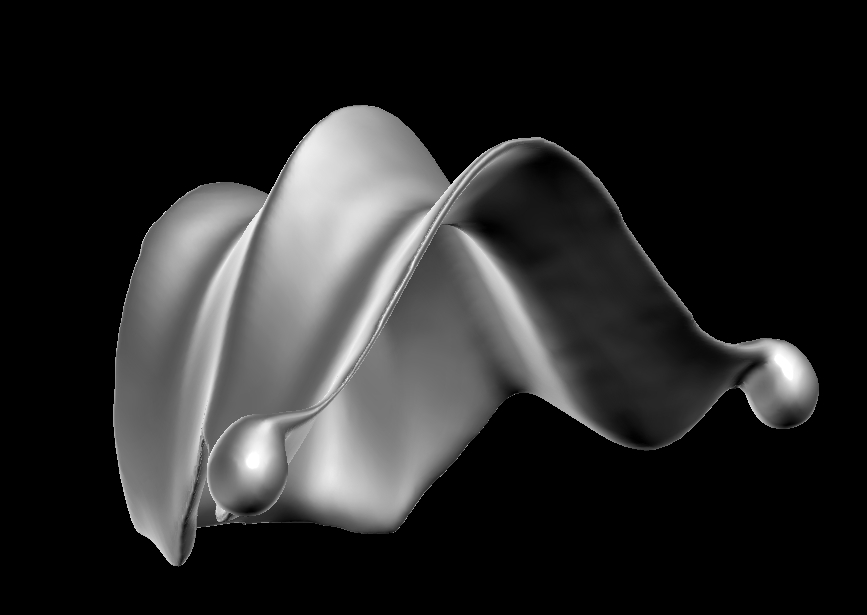
ladies bonnet
while trying to work out how simon did his arch

i discovered how you can merge lofts without forming holes in curvy
1 make your loft
2 make two copies of it
3 move one copy slightly in one direction
4 move the other copy slightly in the other direction
5 do the merge
what i mean by direction:-
keeping the plane of the lofts parallel with one another, moving along the normal
can be confusing to look at when group merging
better to have a practice with quick merge first

Posted: Fri Apr 23, 2010 6:54 am
by Simon
I could add this as a setting the the Merge options - "Thicken Lofts"
I am impressed how smooth your output is - I guess it needs careful control of the width.
Posted: Fri Apr 23, 2010 11:06 am
by sculptor
yes, its a very small movement
Posted: Fri Apr 23, 2010 11:39 am
by Simon
I couldn't reproduce the effect you got with a simple translation - But I did get a similar effect by using a white curvy map with a 50% grey border. The border claps the edges shut and allows for an easy and clean merge.
Speckled one is a single loft - smooth one is a merged loft after duplication and curvy map offset.
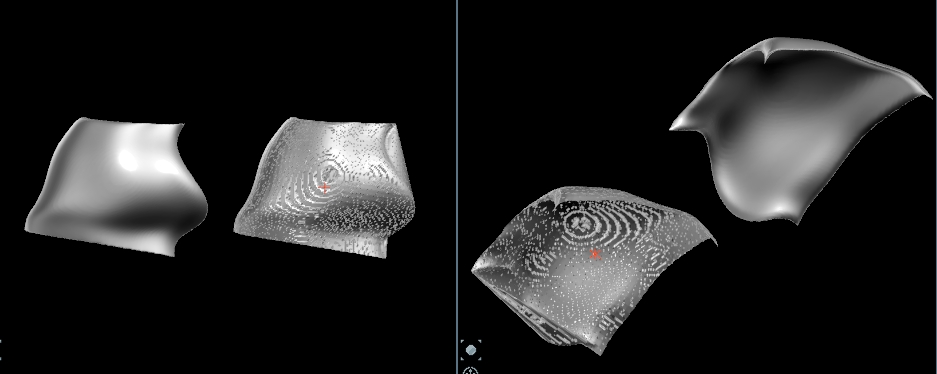
Here is the curvy map I used - it is very simple but also very useful!
http://www.curvy3d.com/images/Cloth.BMP
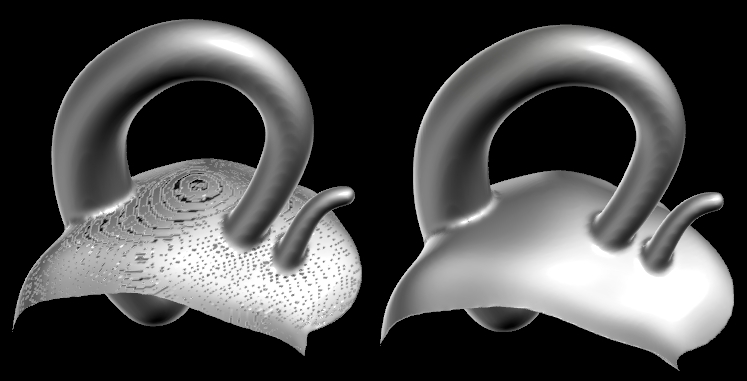
And just to show it is a full merge - here is a test with an extra line cutting through the loft.
Posted: Sat Apr 24, 2010 9:15 am
by sculptor
the clamping edges seems a great idea
i used quick merge all rather than merge group because merge group leaves the original loft which interacts and looks strange.
slight confusion in your use of the word
lathe rather than
loft.
but great you seem to have developed a working system

this extends curvy's capabilities
Posted: Sat Apr 24, 2010 10:52 pm
by sculptor
oops

failed to mention
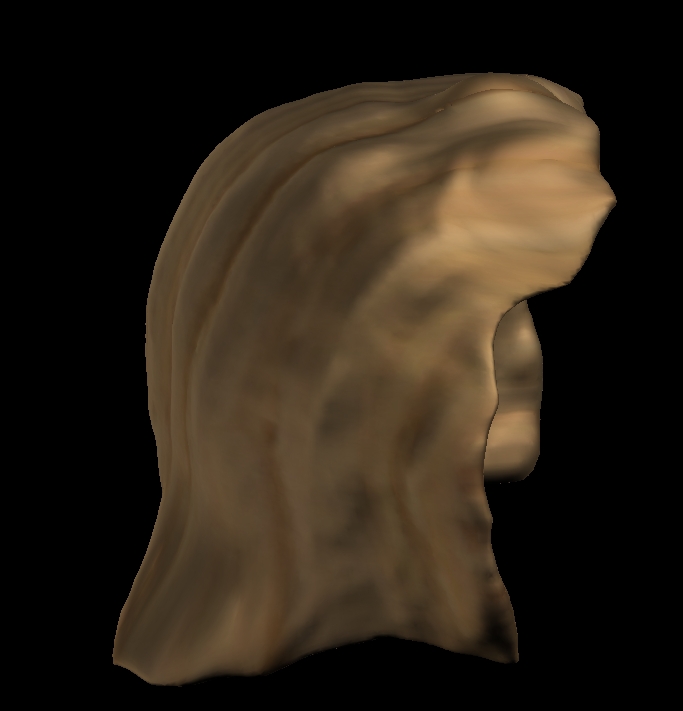
on 3d shape type lofts
slightly scaled up
and slightly scaled down copies before merge (ie not translated)
thats possibly why not same results
great for quick hair etc