This is part two of the humble line.
I can't really overstate the power of this curvy feature.
It is the fastest way i know of forming a basic mesh for a human type figure.
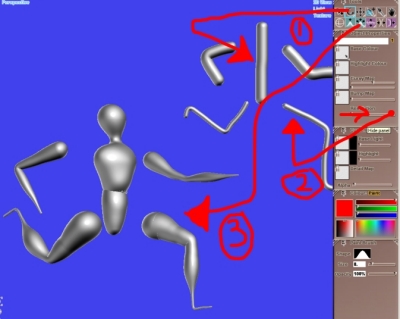
1 - draw a line
2 - set its resolution to max
3- use warp inflate tool to shape it
(do it gently and you'll see the muscles magically appear)
how you develop the figure is up to you,
but if you can draw a stickman
you can make a humanoid mesh.
WOW
can it get simpler than that ?
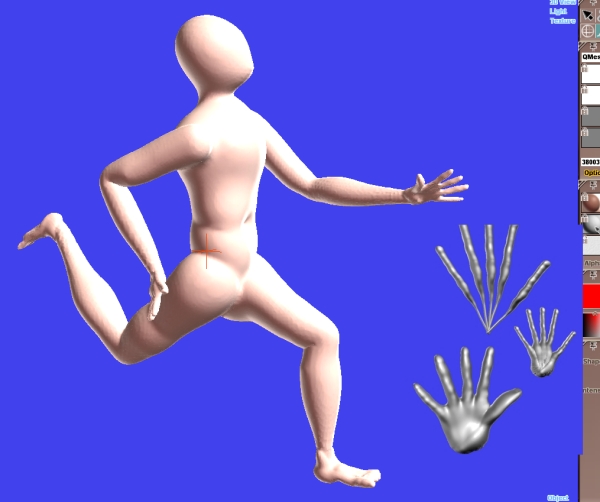
edit: update to show hands using same method
add a curvy map and a bit of lighting to your basic mesh
and you are on your way.
Humble line part 2
Humble line part 2
Last edited by sculptor on Sat Mar 31, 2012 11:22 pm, edited 1 time in total.
Edit: change of title
and important update to show hand making
note :it is very important to choose correct merge properties solid cell size
to stop fingers sticking together yet avoid too big a mesh(on this one i needed 0.009)
the slightly strange groin area on the red model is caused by the two legs being too close together when i did the merge, i was too lazy to go back and re do it